Rationale
I just LOVE shiny things. If I was a fish I'd never make it to lunker size as any flashy lure would catch me. Otto my parrot thinks I'm nuts.
But lotsa chrome means lotsa bucks. In fact the extras on Deerslayer cost more than the bike did.
Deerslayer's wheels are dingy. The punkin looks like crap. But
chroming them will cost a fortune... What to do?
Hey, what about polishing the metal? How hard is that? Dunno, never did it, but it looks hard. Well let's check it out.
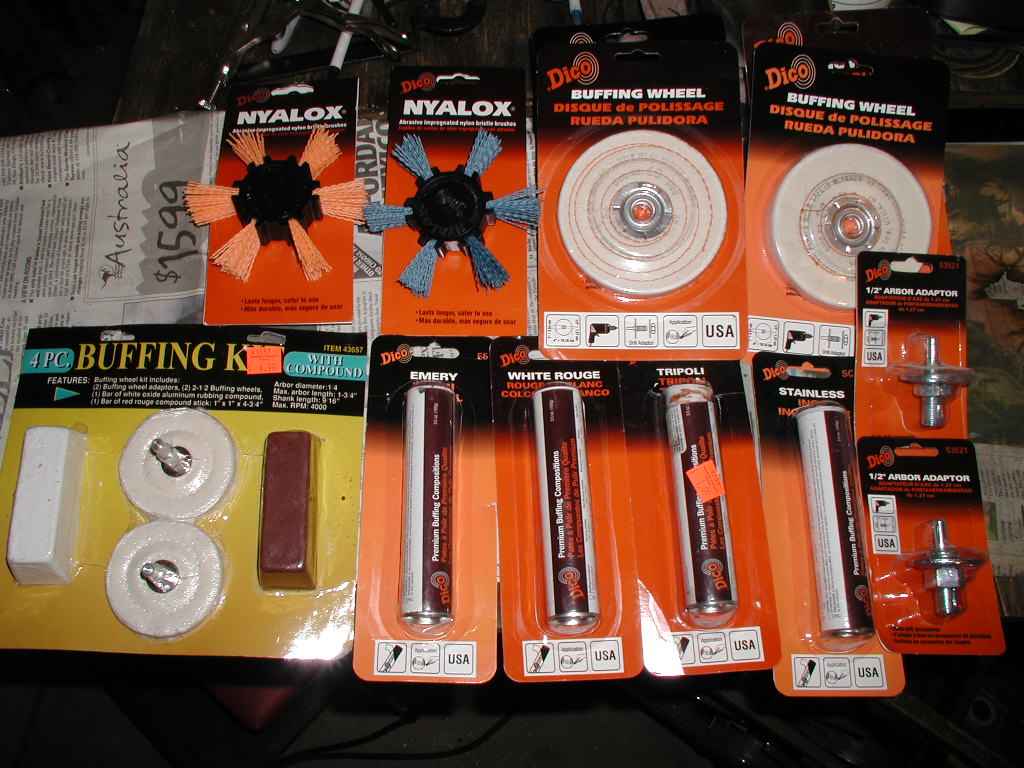
OK, so I did a little digging on the net. Looked up some VRCC posts I had saved from before. Found a few leads - Here's the best one, from Caswell Plating: http://www.caswellplating.com/Buffbook.PDF This
booklet tells you everything you need to know to get started. They also have a manual online that they want to charge for. I didn't need it.
BTW, I found this .FLV file on Youtube, on how to polish aluminum wheels - this one happens to be a Valk, too. I just checked, it's not
there anymore. Glad I saved it. Sorry I can't post it here to view - my site builder is old and doesn't support video viewing. Just click on the
link, download it, and watch it on your machine. It's about 8MB in size.
Wheel Polishing.flv
The objective is to smooth out the metal so it will reflect the light instead of scattering it. You do that by starting with a courser abrasive and
graduating through finer and finer abrasives until you're using no abrasive at all. Except for the first rough work, the abrasives are
contained impregnated in the wax in the rouge compounds. The buffing wheel then does the work - this would be WAY harder if you didn't use
an electric buffer. Download and read the PDF file http://www.caswellplating.com/Buffbook.PDF
. I can add a few points to what you learn there. Unfortunately Illustrating these steps leaves a little to be desired - even though I was a photo studio manager
then owner, I don't have the equipment or inclination anymore to get the best photos possible - reflective metal takes some effort to
photograph properly. Also I did it myself so operating the camera with one hand means most of the photos are "still lifes" - not in action. You get the idea.
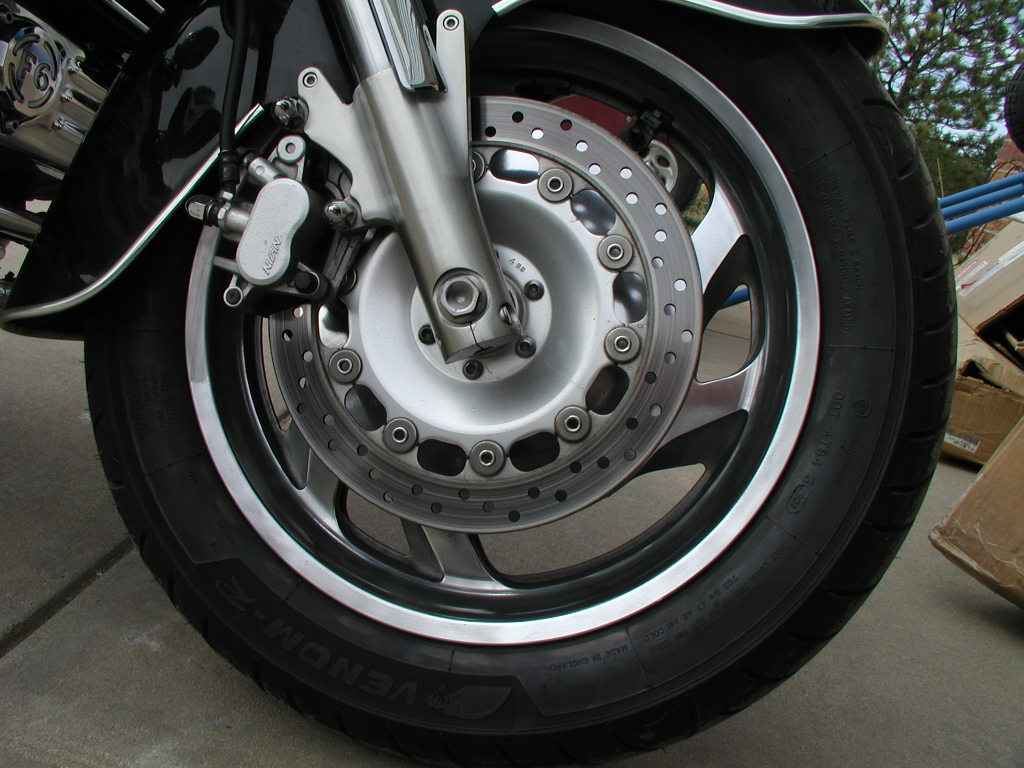
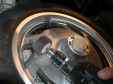
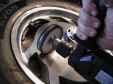
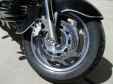
Front wheel:
Remove the wheel from the bike. Remove the socket bolts attaching the rotors. Tape over the bearings to keep crud out. Set up a backlight
so you can see the work while watching the reflection.
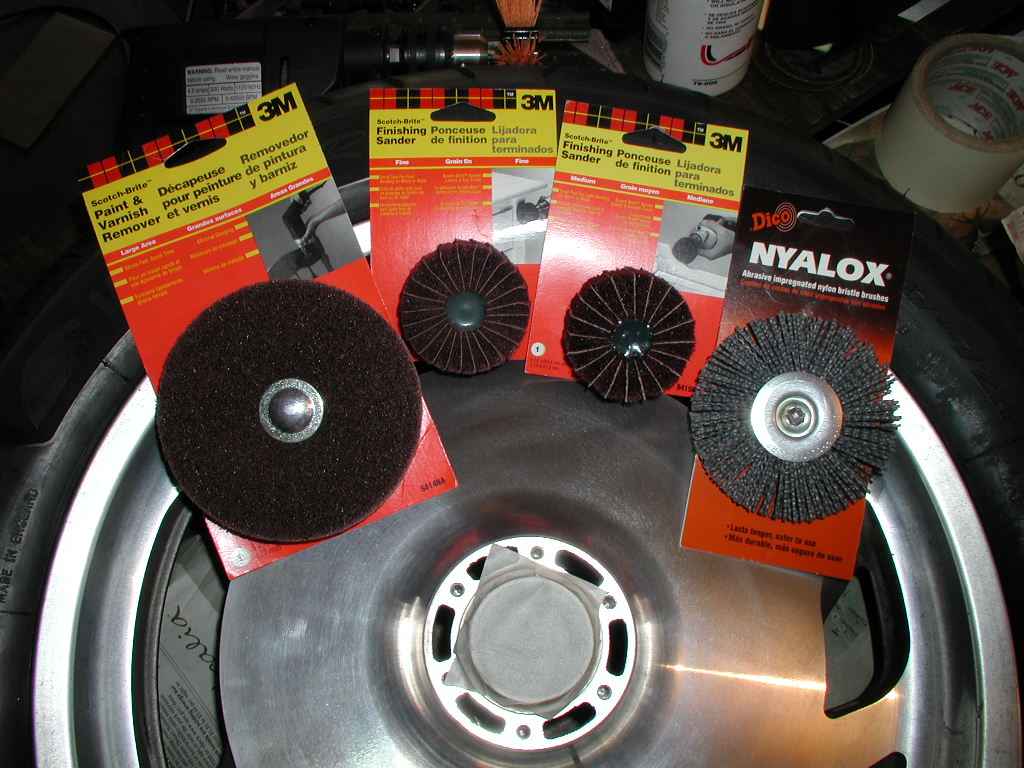
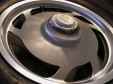
Look closely at the wheel. Clearly it was turned on a lathe, and they left
spiral swirls in the metal. You need to remove the metal to below the swirls. I bought and tried several types and grit level abrasive wheels,
in increasing increments of cutting power until I found one that was adequate to remove the swirls but not too abrasive to scratch it worse
than necessary. I wound up using the fine grit sandpaper flap wheel. Use heavy pressure, and be careful about hitting the wheel with the drill
chuck - it makes a nice router on the metal you're trying to unscratch. As the flap wheel wears it in effect becomes finer. You can use that to
good effect, to make finer and finer scratches. Do the whole wheel once over, perhaps changing to a fresh flap wheel, then go over it again with the flaps more worn.
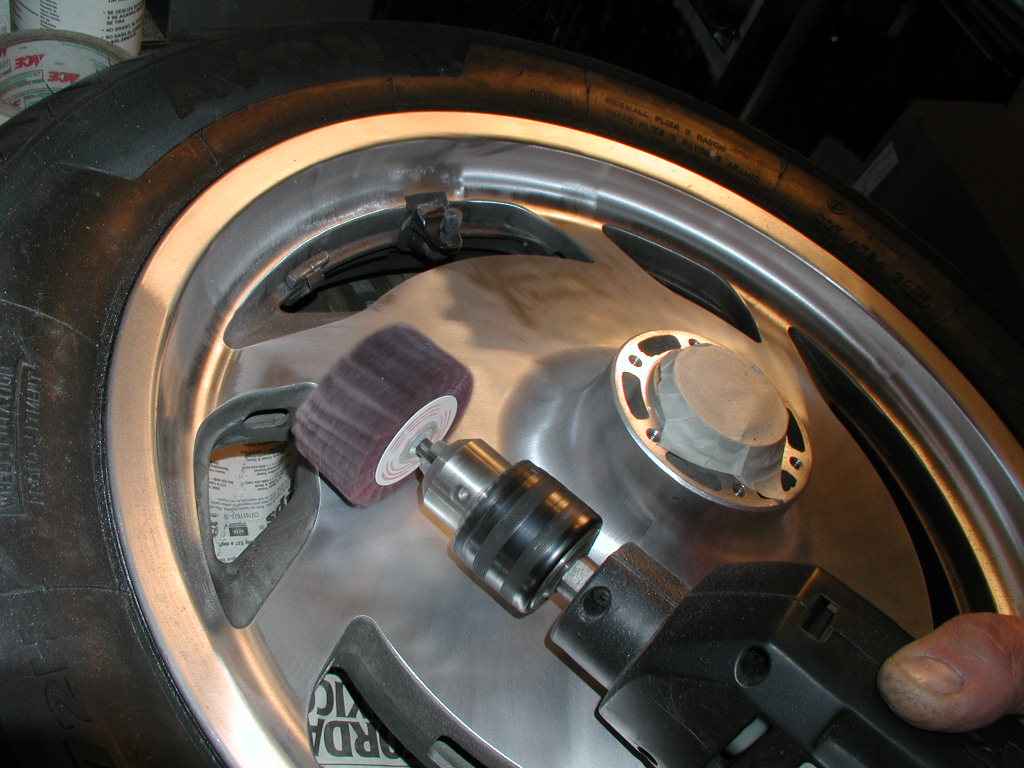
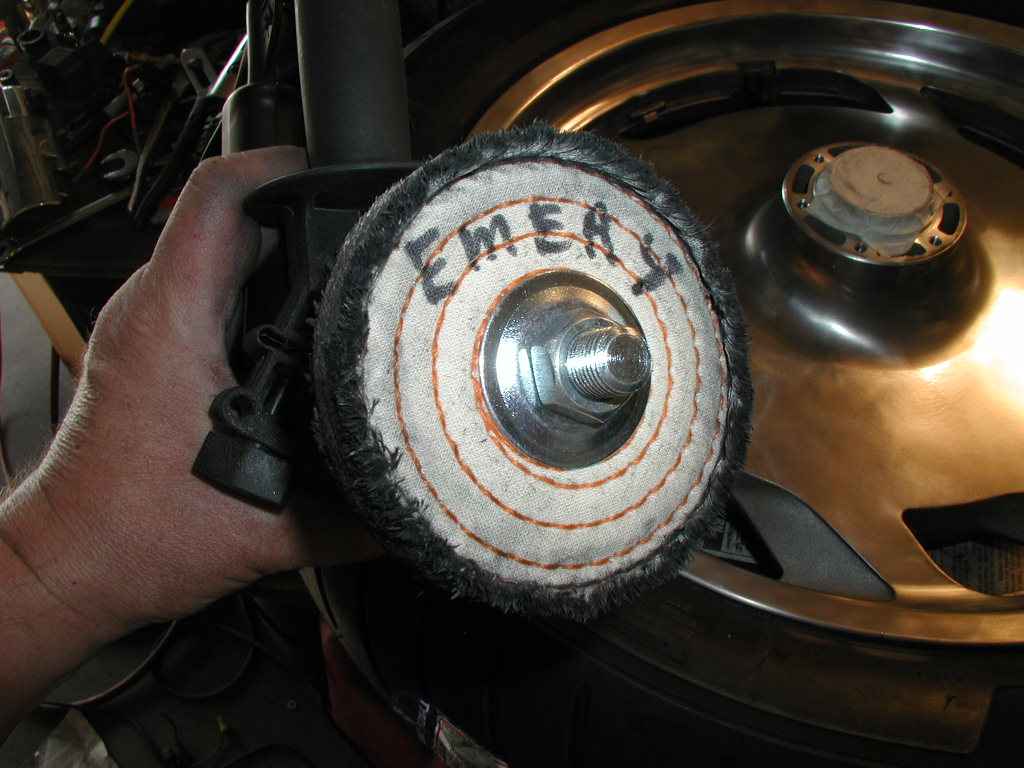
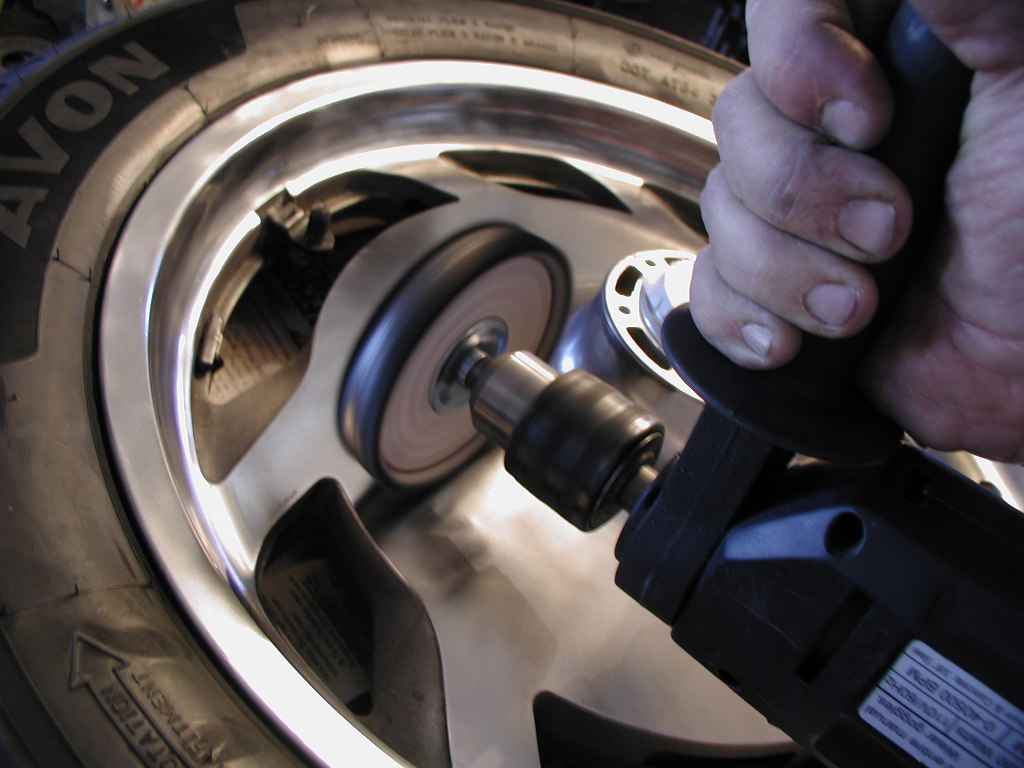
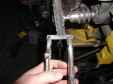
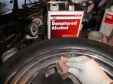
Set up a 4" sisal buffing wheel with an arbor attachment. If you couldn't find one at your local store, a spiral sewn buffer wheel will
work too. Try not to have the shaft sticking out of the wheel any farther then necessary. Notice the pic below, the shaft is sticking out of
the nut - but not in the pic farther below with the Tripoli rouge. Yeah. The shaft makes a nice router too. A longer arbor adapter works better
than a shorter one, as it allows you to back the drill chuck farther away from the work. With the wheel spinning at full speed, apply black rouge
to the edge of the wheel. Push it against it with some pressure for a couple seconds at a time. You need the friction heat to melt the carrier
wax to get it to load the wheel. Do not mix rouge types on the wheels. Write on the face what rouge you used (they look the same after they get dirty - black).
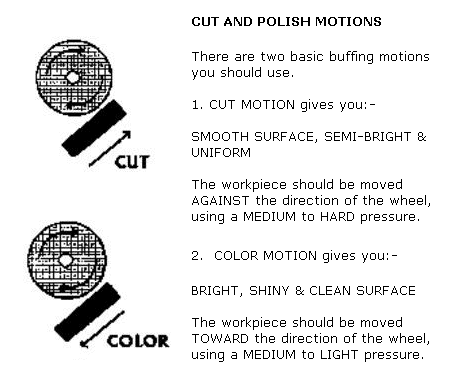
Pay attention to the "cut" vs. "color" motions explained in the PDF file. For the black rouge, use "cut" motion and plenty of pressure.
Let the compound do the work. You will be surprised how fast this goes. You will find you need to re-apply rouge every couple minutes or
so. After about 4 applications you will notice it's not as effective, and in fact you are adding scratches rather than removing them. Time to clean the wheel.
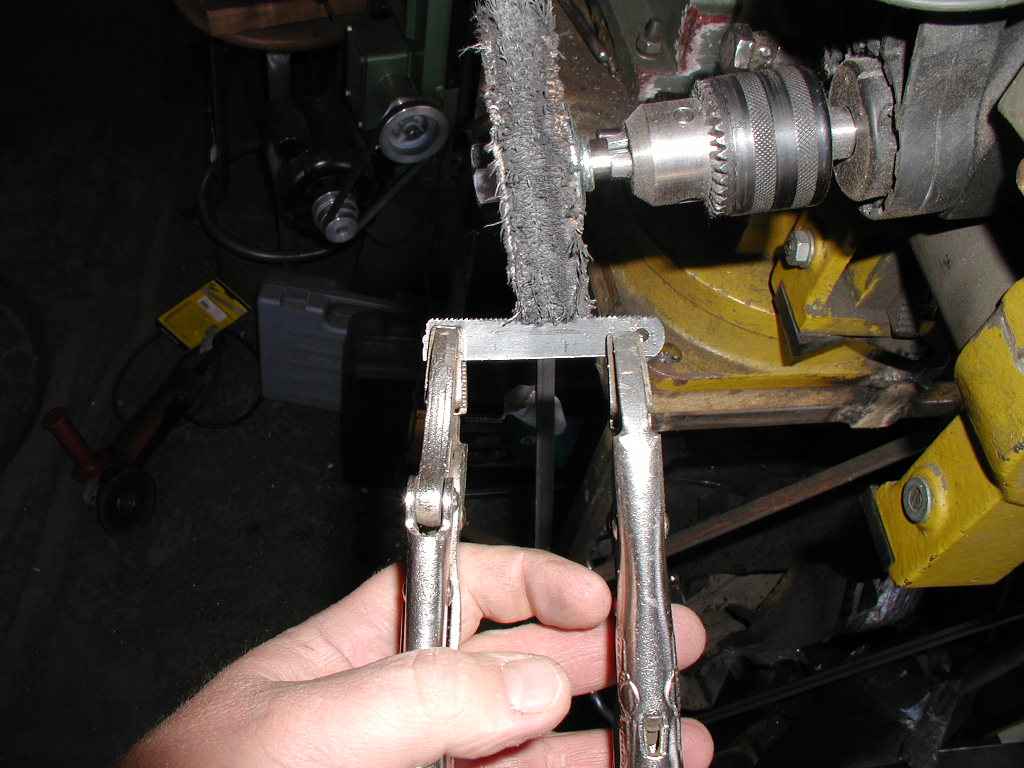
Clamp the buffer in the bench vise, turn it on & apply the hacksaw blade to the edge to knock the compound off.
Reapply compound and resume. Repeat until you've done both sides.
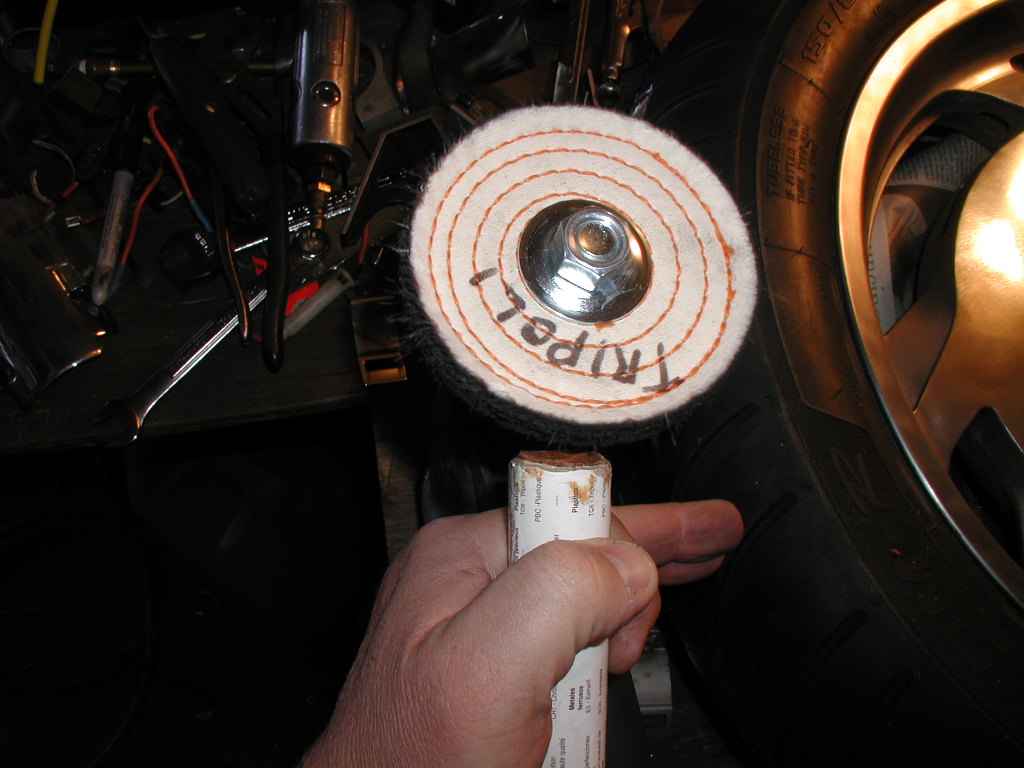
Set up a fresh spiral sewn (NOT siskal) wheel and apply Tripoli (brown) rouge to it. Start with a cutting motion and medium pressure, and
graduate to a color motion with lighter pressure. Clean buffer wheel and reapply rouge as needed until you've done the whole wheel. This
goes faster than the black rouge work did. The wheel is getting shiny.
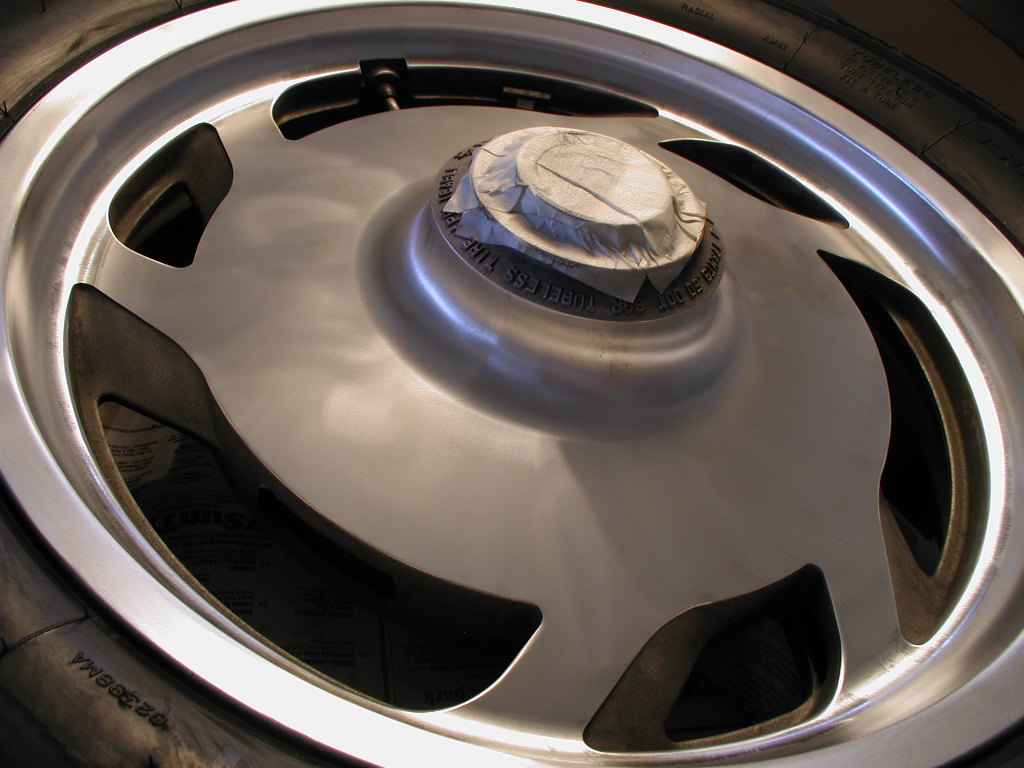
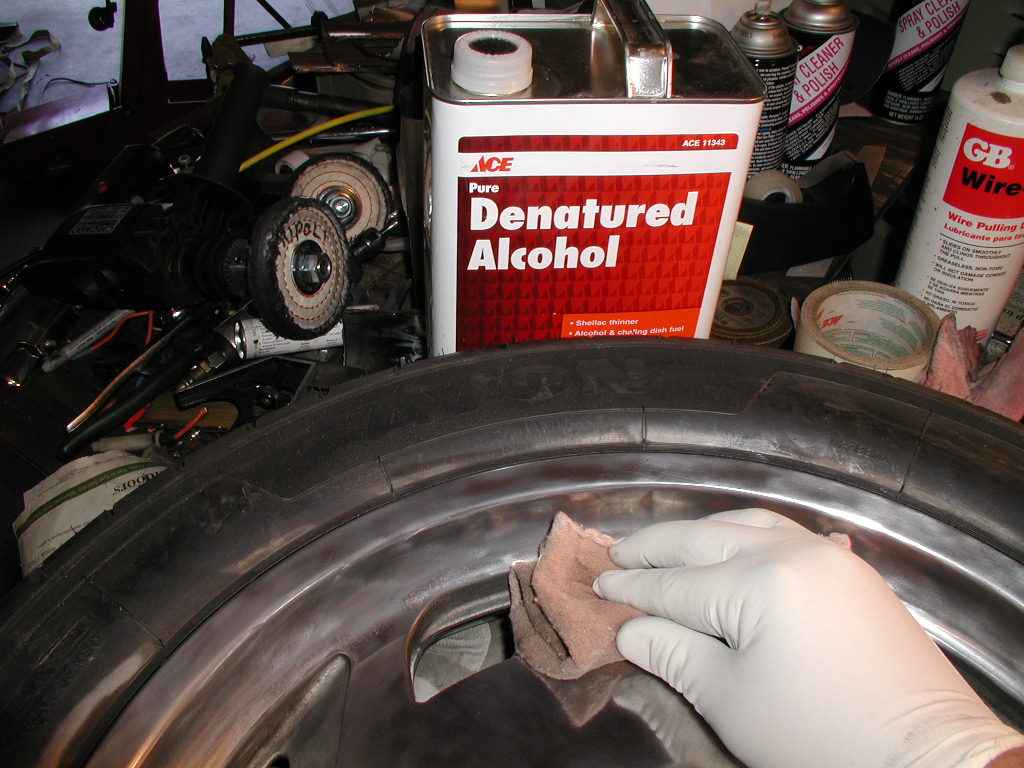
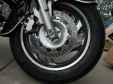
Clean the residual rouge off the aluminum wheel with alcohol and rags.
Set up a loose buffing wheel. Apply white rouge and continue with color motion and light pressure. Goes even faster. You can see yourself in the metal now.
Set up another loose wheel. Apply blue rouge. This is the final color. When you're done, it's hard to tell the shine from chrome.
Apply wax and buff with the last loose wheel. Collinite Metal Wax is perhaps the best.
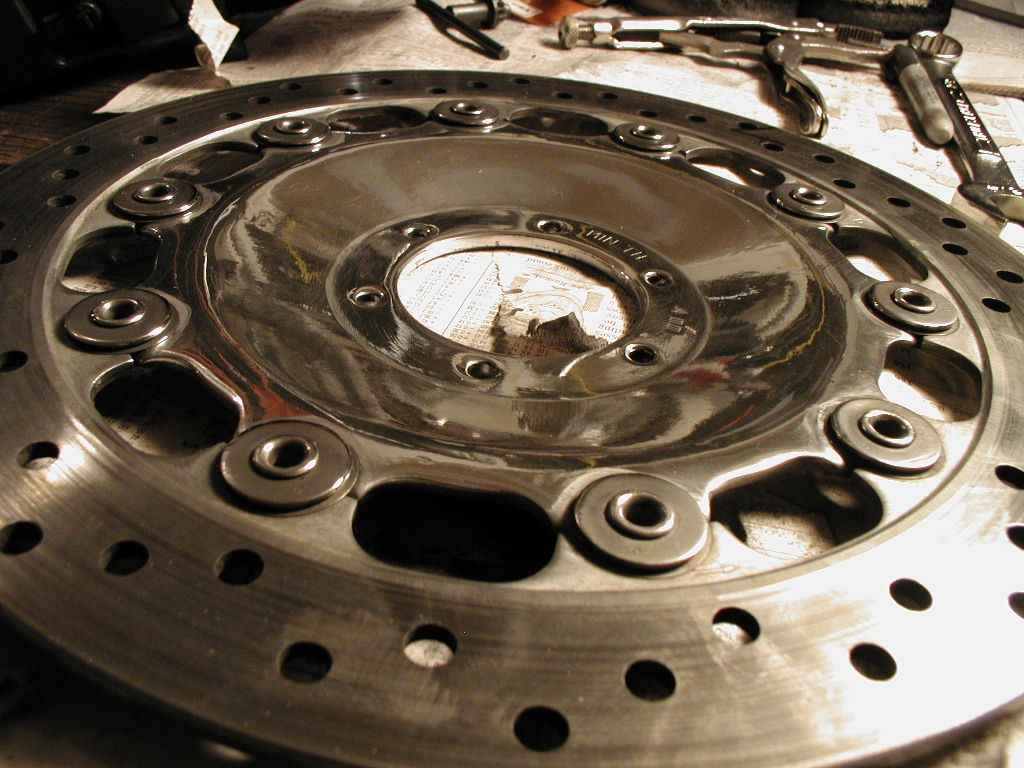
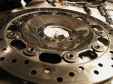
Rotors:
I thought these were anodized aluminum. But George Jackson tells me
he had his done a couple years ago and they have needed no touch up - that makes them stainless. COOL! But they do seem to have some hard
coating on them like anodizing, that has to come off before you can polish them. I used a 3M 6" paint stripper wheel. Clamp the rotors
down with 2 welding clamps and rags - just enough to hold them, don't warp the rotors.
Start with the paint stripper. Then repeat the steps above. The SS will shine more than the aluminum.
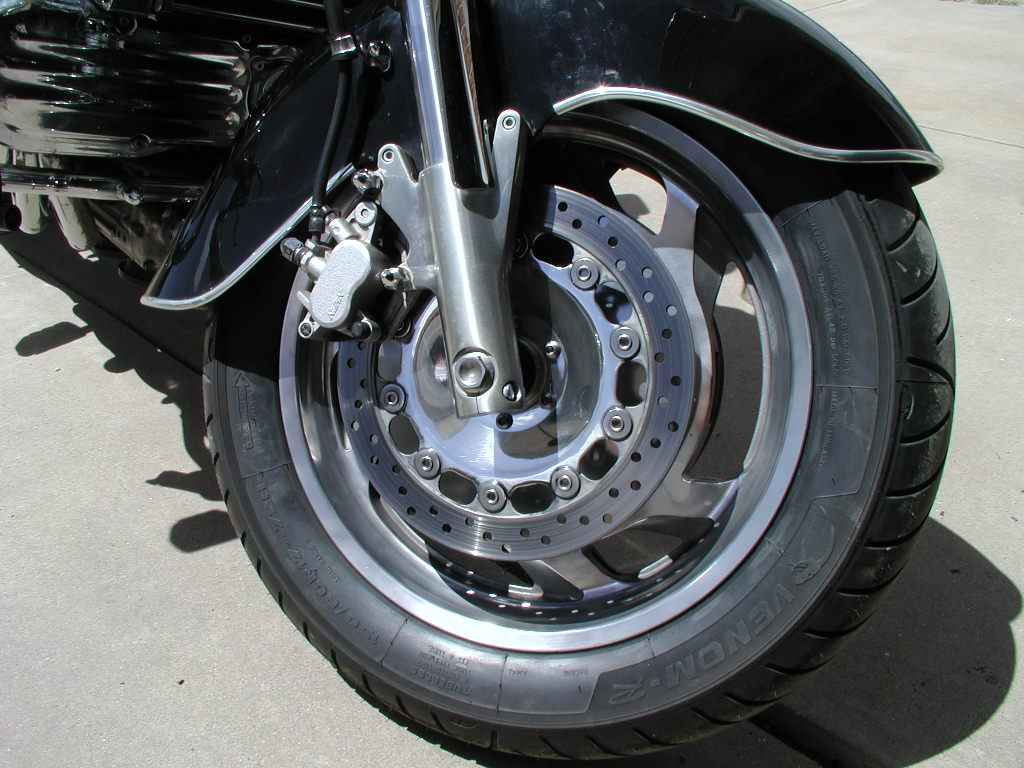
Now go STYLIN with your SHINY WHEEL!